Keytool and Certificates
Creating a New Keystore
Keytool can be found at [Install Dir]/jre/bin/keytool on Linux CenterScape Installs with the bundled JDK, or [Install Dir]/jre-win64/bin/keytool.exe on Windows hosts with the bundled JDK. For No-JRE versions of CenterScape keytool can be found where the JRE/JDK was installed. Keytool is a command line tool with no graphical UI, so command line examples will be given with [subsitute] nomenclature. This means that site specific fields should be substituted without actually including the [ ] in the commands. If "" are included they must also be supplied in the command line as well.
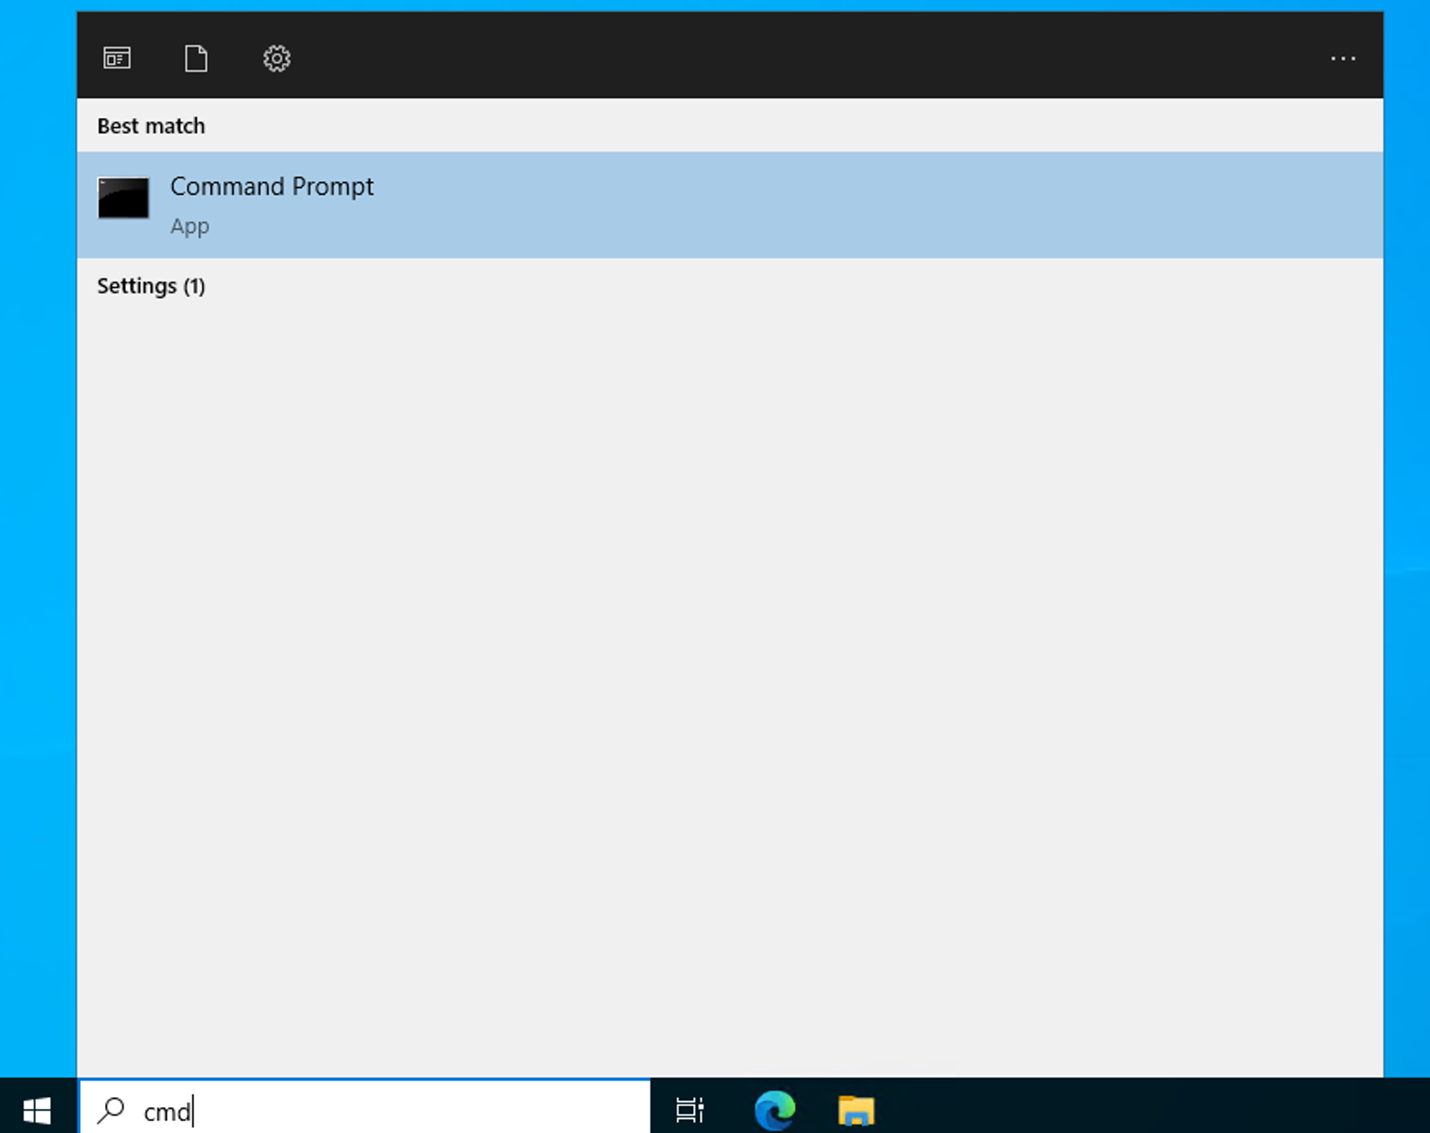
- Run CMD and change directory to Desktop. The desktop provides a good directory from a permissions standpoint to create the new keystore and other files. All further commands will assume to be ran from the desktop location.

- Create Private Key. Other permutations may function or may be required by the signing authority with additional parameters. The following command is a single line. Replace all [ ] parameters with server and company specific parameters.
"[install-dir]\jre-win64\bin\keytool.exe" -genkeypair -sigalg SHA256withRSA -keysize 2048 -keyalg RSA -storetype JKS -keystore keystore -dname "CN=[server.domain.com], OU=[Organizational Unit], O=[Company Name], L= [City], S=[State], C=US" -keypass [private key password] -storepass [keystore password] -validity 365 -alias [Alias like cs_privatekey]
Below is an example for wincs02.bar-e-ranch.com

There will now be a keystore file in the desktop directory that contains a private key with a password and the keystore will also have a password. Those passwords can be different or the same depending on what was supplied with the command.
- The next step is to generate the Certificate Request commonly known as the “CSR”.
"[install-dir]\jre-win64\bin\keytool.exe" -certreq -alias [alias name] -keystore keystore -ext SAN=dns:[server.domain.com] -file [FILENAME].csr
Below is an example of generating a CSR for wincs02.bar-e-ranch.com. Note the DNS name for the subject alternative name. The keystore password must be entered when prompted

- In the desktop there should be a .csr file that contains the certificate request. Open the certificate file with a text editor such as notepad and copy the contents of the certificate request as shown below.
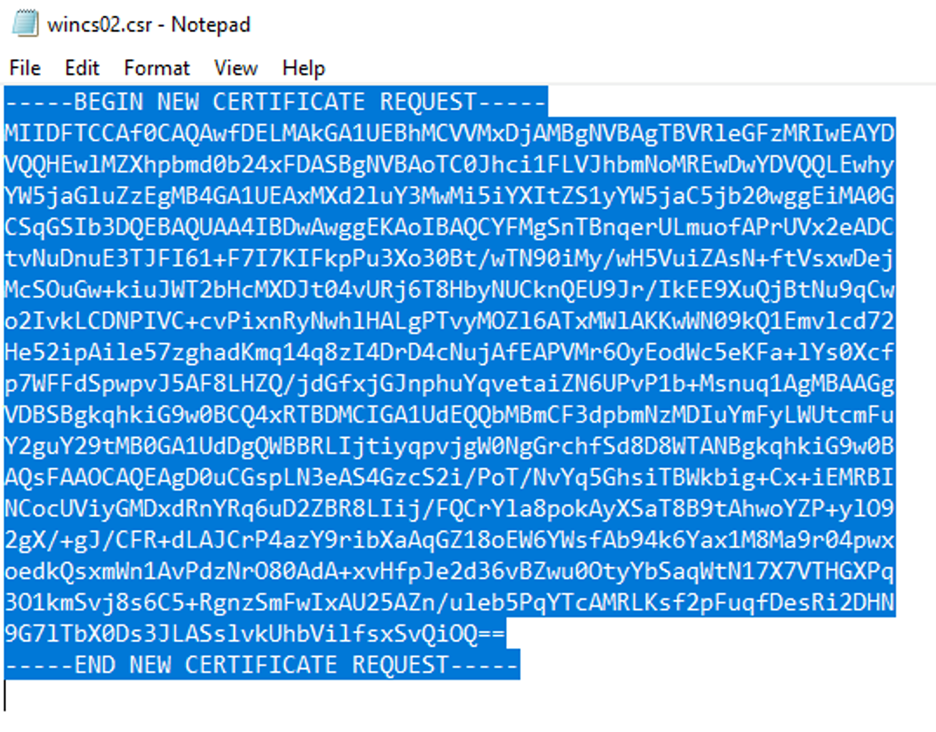
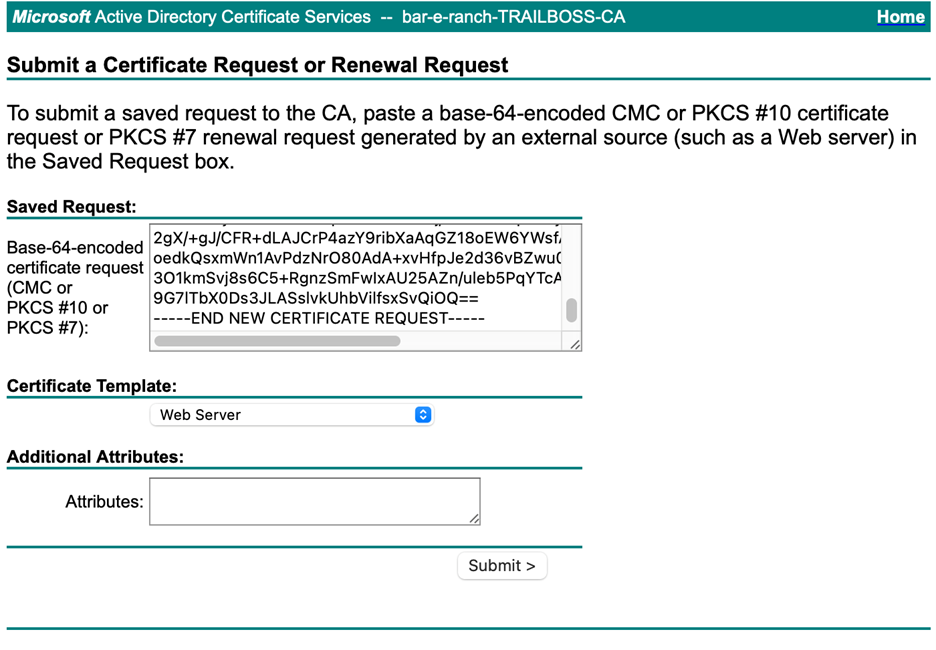
This content will need to be pasted to the software of the signing authority. In this example Microsoft Active Directory Certificate Services is used on Windows 2022 Server using the default Web Server Template.
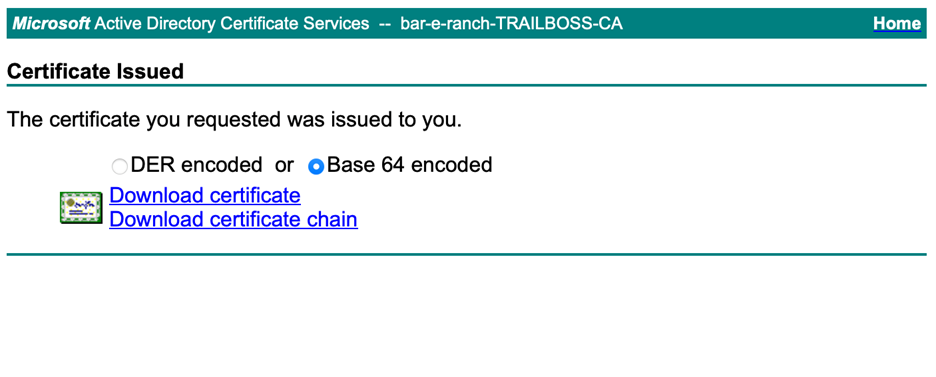
- Download the Certificate or Certificate chain. The certificate chain is typically the better option as it contains CA and intermediate CAs. Base 64 encoded is preferred.
- The next step is to add the certificate to the Java keystore. Save the file to the desktop and run the following keytool command.
"[install-dir]\jre-win64\bin\keytool.exe" -importcert -file [certificate file] -alias wincs02 -keystore keystore
There will be a prompt for the password for the keystore and also a question about whether or not to trust the certificate. The full word “yes” needs to be typed to approve the addition of the certificate.

- The Keystore on the desktop now includes both a private key and a matching public certificate. Additional certificates of trust can be added as long as the alias name supplied are different than the primary certificate.
- The CenterScape service should be stopped and the keystore should be copied from the desktop to the [install-dir]/conf directory. If overriding an existing keystore it is good practice to back it up first. Finally, if the passwords supplied for the private key and keystore are not “rfcode” then follow the keystore access section of this document before starting the CenterScape Service.
Keystore Access
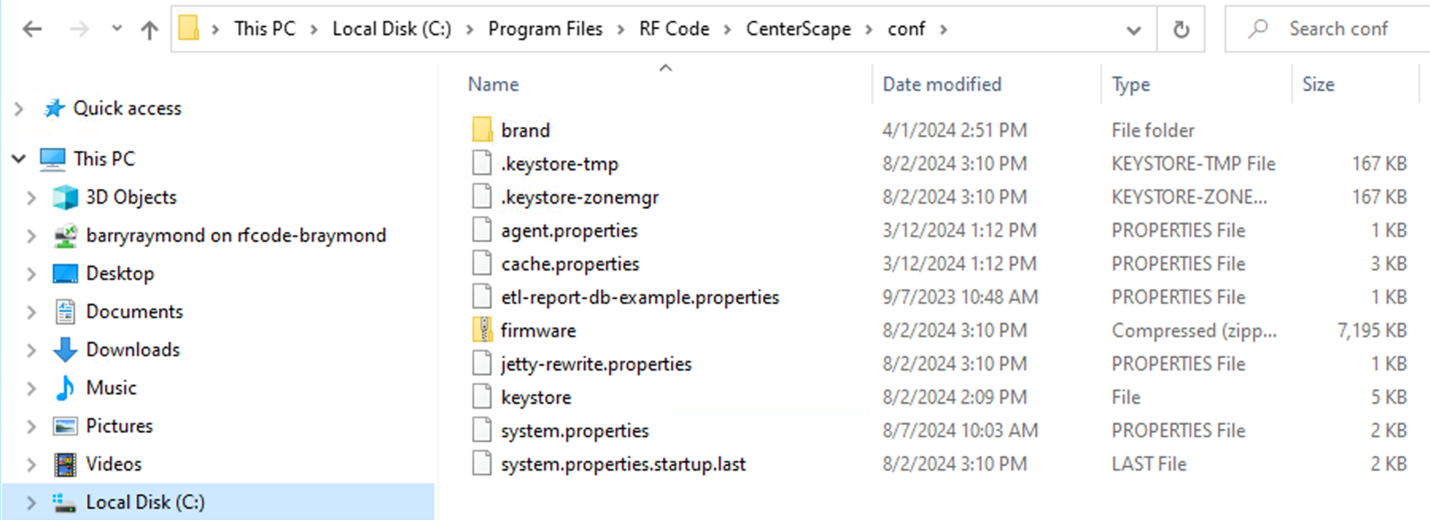
CenterScape looks for its keystore on both Linux and Windows distributions in the conf directory directly off its install directory. Also in that directory is the system.properties file. This file holds the information that CenterScape needs to start up properly. This includes things like database access parameters, web ports and keystore access credentials.
By default, the password for both the keystore and private key within the keystore is “rfcode”. The passwords will appear in an encrypted format in file, but they are entered in plain text. The encryption will occur after starting the CenterScape service so the password will be inaccessible after the application starts.
Make sure to record the password for the keystore and private key as the system.properties file will encrypt the password which will be needed to modify the keystore in the future.

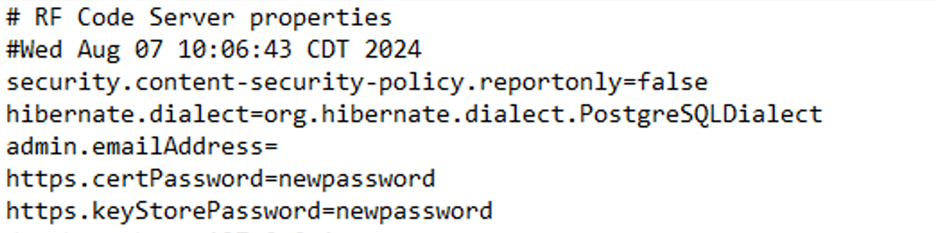
The file can be modified to use different passwords. In the following example the passwords are set to “newpassword”.. This is done from notepad, vi, or your favorite plain text editor. The file can only be edited when the CenterScape Service is not running. When the CenterScape service runs after a password change on the file, it will encrypt the plain text password again. RF Code cannot recover these encrypted passwords so a record should be kept elsewhere.
The passwords for both the keystore file and private key must be correct or CenterScape will not start which is why it is important to backup the default keystore until a new one successfully functions.
Final Check
If the keystore is configured properly with a private key and certificate pair, then web clients will be able to connect to the server with the secure lock icon on the web browser. The certificate will be trusted from some CA either public or part of an enterprise PKI system. The details of the certificate can be checked on any web browser by clicking on the secure icon. Additionally, the certificate chain added to the CenterScape keystore may also provide certificate verification for Secure LDAP, SMTP over TLS, Encrypted SQL Server, and Encrypted Postgre SQL if their certificates are signed by the same CA or intermediate CA